


|
|
|
|
|
|
|
|
|
|
|
|
Quick path
|
|
Before you begin
Confirm the custom fields are active and that the template includes the correct field locations. Custom field columns are exported with a cst_ prefix, such as cst_case_manager.
|
|
Create or review a custom field template
1. Click Administrative Options.
2. Click Data Import and Export Features.
3. Click Provider Data Export.
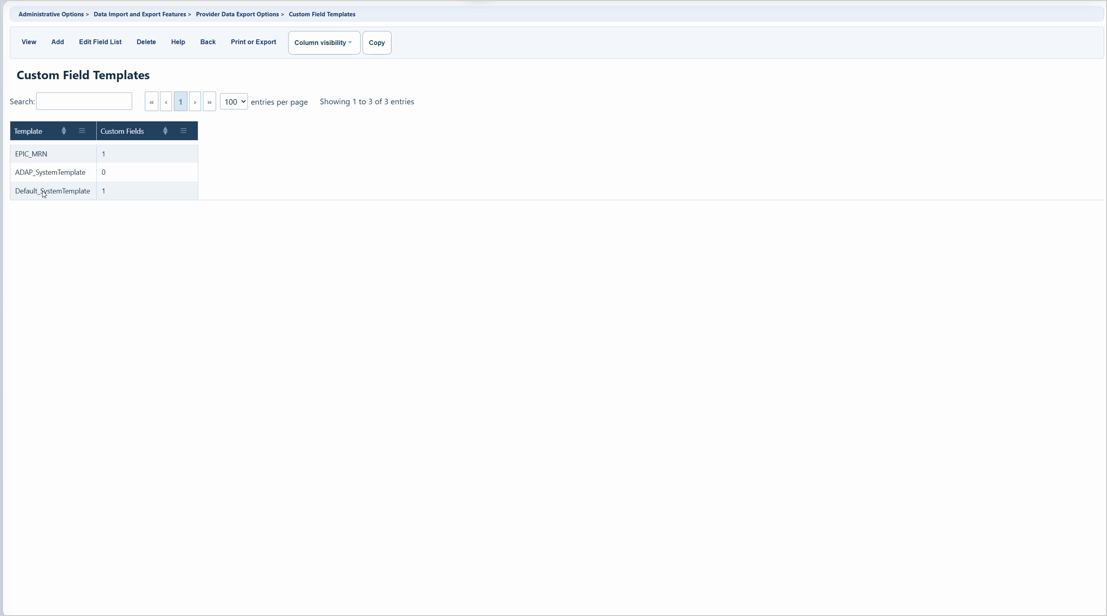
4. Click Custom Field Templates.
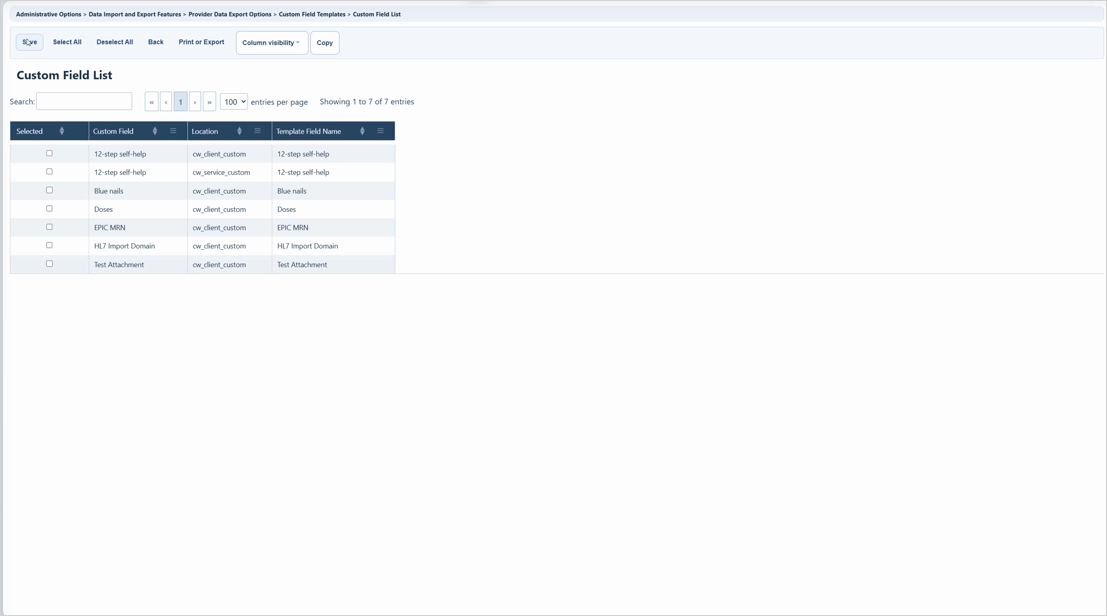
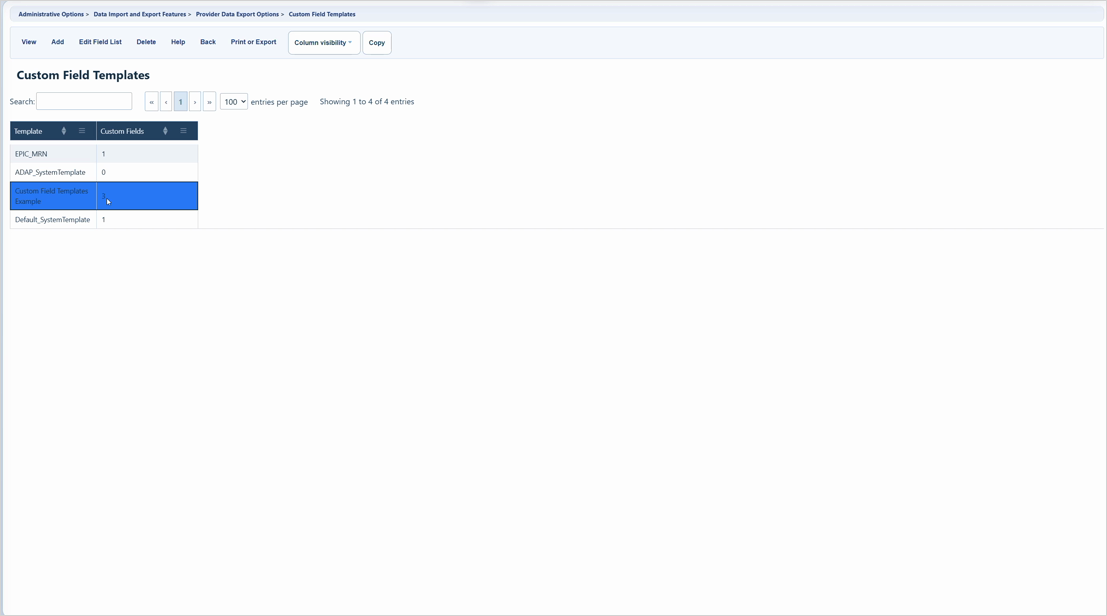
5. Click Add to create a template, or select an existing template and click Edit Field List.
6. Enter the template name if creating a new template.
7. Check each custom field that should be included. Confirm the field location, such as cw_client_custom or cw_service_custom.
8. Click Save.
Apply a custom field template to an export
1. Click Provider Data Export.
2. Click New Export.
3. Click Edit Custom Fields.
4. Click Apply Template.
5. Select the template to highlight it.
6. Click Append Template Fields to add the template fields to existing selections, or Replace With Template Fields to use only the fields saved in the template.
7. Click Save.
Export the template
1. Return to New Export.
2. Check each table to include in the template.
3. Confirm Custom Fields is checked when custom field columns should be included.
4. Click Export PDE Template.
5. Open the exported template files and confirm the expected cst_ columns are present.
|
|
Troubleshooting and common questions
- Why is there no mapping for a custom field? The field name in Custom Control Setup may not match the saved template field name. Refresh the template by removing and re-adding the custom field.
- Why is the custom field in the wrong table? Check the field location before saving the template.
- Why do I not see the field in the export? Confirm Custom Fields was checked on the export page and that the correct table was included.
Related guides
Custom Field Templates | New Export | Importing Custom Data Using the Provider Data Import | CAREWare CSV Specifications


