


|
|
|
|
|
|
|
|
|
|
|
|
Quick path
|
|
|
|
Before you begin
Decide the export format, output file name, date span, client match field, and the client-level tables to include. If the export is to be imported into another CAREWare instance, confirm the receiving system import settings first.
|
|
Create the export
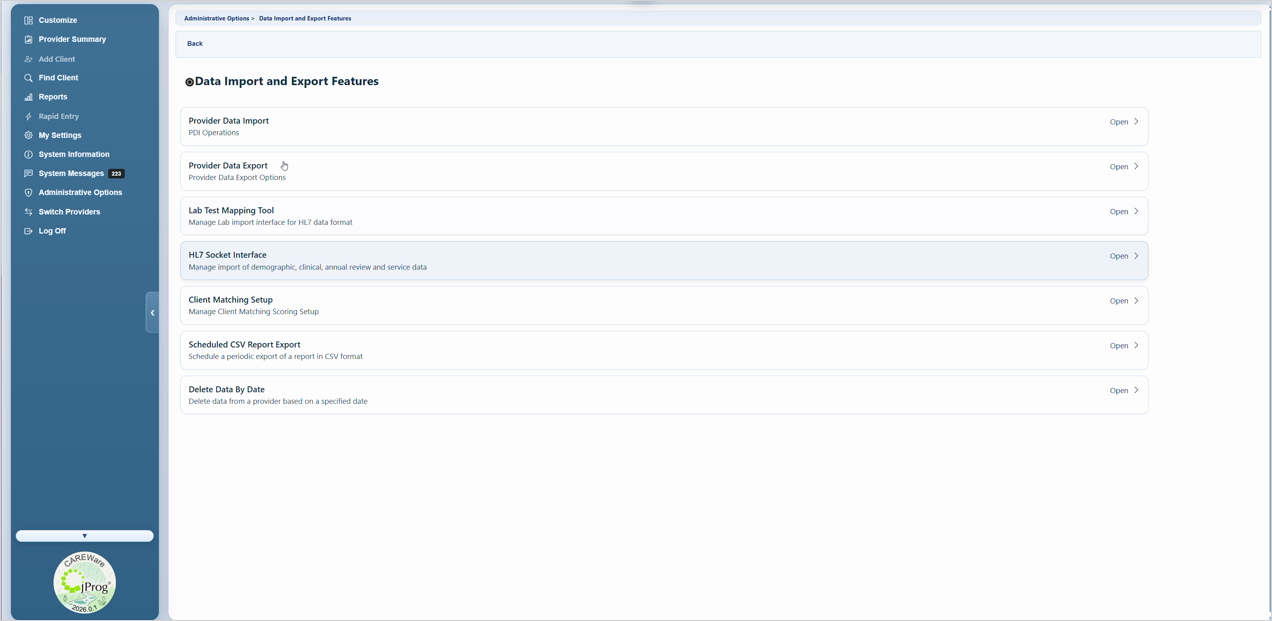
1. Click Administrative Options.
2. Click Data Import and Export Features.
3. Click Provider Data Export.
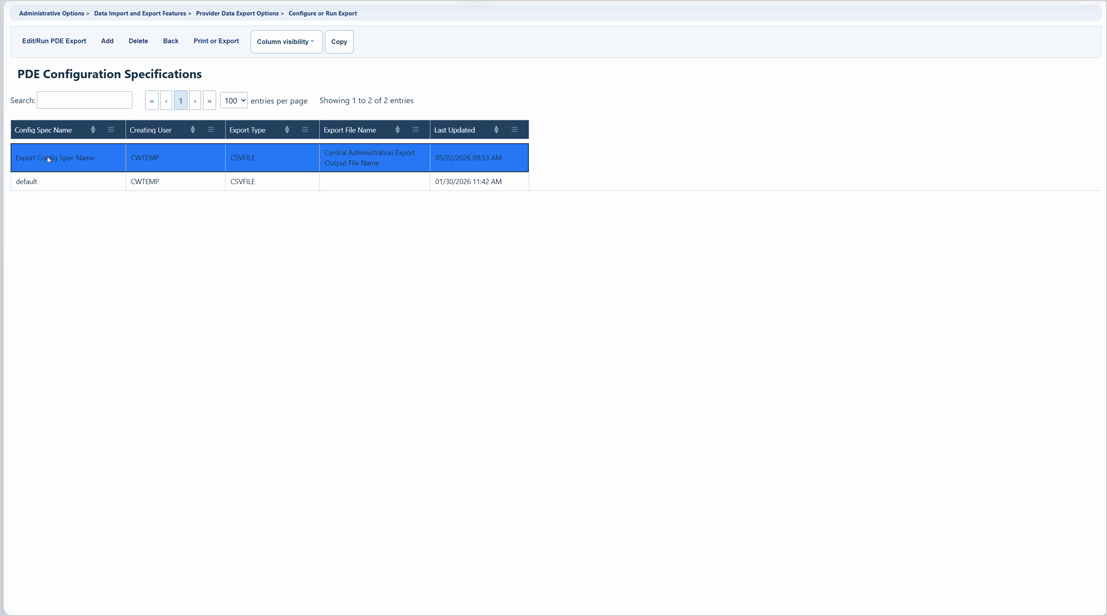
4. Click New Export.
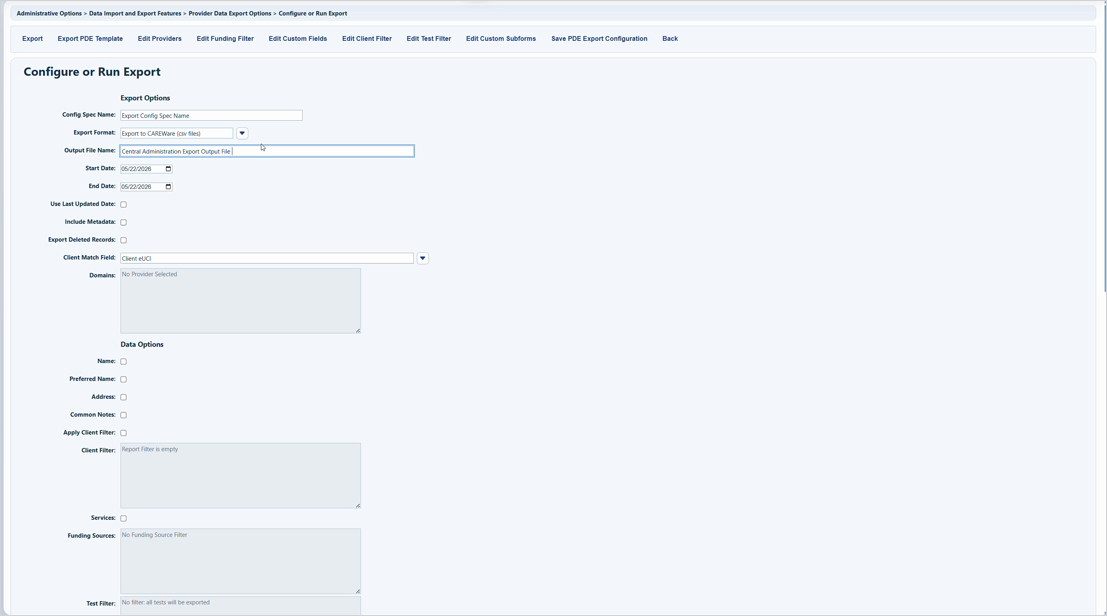
5. Select the Export Format. Use CSV files for a zipped export or SQL PDE/PDI for database-based workflows.
6. Enter an Output File Name. This becomes the downloaded file or export label.
7. Select the Start Date and End Date. If only Name is selected and you need a full client list, leave the date span blank.
8. Choose optional settings such as Use Last Updated Date, Include Metadata, or Export Deleted Records. Export Deleted Records applies to SQL exports only.
9. Select the Client Match Field, such as Client eUCI, Client ID, or an active custom client field.
10. Check each data option to include in the export.
11. Click Export.
12. Click Download Export File when the export is ready.
Optional filters and customization
- Multiple providers: In Central Administration, click Edit Providers, check each provider, and click Save. CAREWare creates a separate zipped folder for each selected provider.
- Client filter: Click Edit Client Filter, add the demographic filter, save it, return to the export page, and check Apply Client Filter.
- Funding filter: Click Edit Funding Filter, check the funding sources, click Save, and check Services on the export page.
- Test filter: Click Edit Test Filter, check the tests, click Save, and check Labs/Screenings/Screening Labs.
- Custom fields: Click Edit Custom Fields, select fields from the correct location, click Save, and check Custom Fields.
- Custom subforms: Click Edit Custom Subforms, select the subforms, click Save, and check Custom Subforms.
|
|
How to confirm it worked
1. Open the downloaded ZIP file and confirm the data is populated in the CSV tables or confirm the SQL export tables were updated in the cw_pdi database.
2. Review the exported table files or SQL tables for the expected data elements.
3. Open Export History and compare the table counts to the date span and filters you selected.
Troubleshooting and common questions
- Why are records missing? Check the date span, the table critical date, Use Last Updated Date, and whether the table checkbox was selected.
- Why are service counts lower than expected? Check the funding filter and whether Services was checked after the filter was saved. Run a financial report for the same date span to compare the counts.
- Why did the receiving system not match clients? Confirm that the exported Client Match Field matches the client matching option in Import Settings.
Related guides
Export History | Scheduled Exports | Export PDE Template | Import Settings | CAREWare CSV Specifications | Exporting Data Out of CAREWare


