


|
|
|
|
|
|
|
|
|
|
|
|
Quick path
|
|
Before you begin
Create and test the custom report first. Confirm the server folder path where the CSV files should be saved and determine which providers should be included in the data scope.
Create the schedule
1. Click Administrative Options.
2. Click Data Import and Export Features.
3. Click Scheduled CSV Report Export.
4. Click Add.
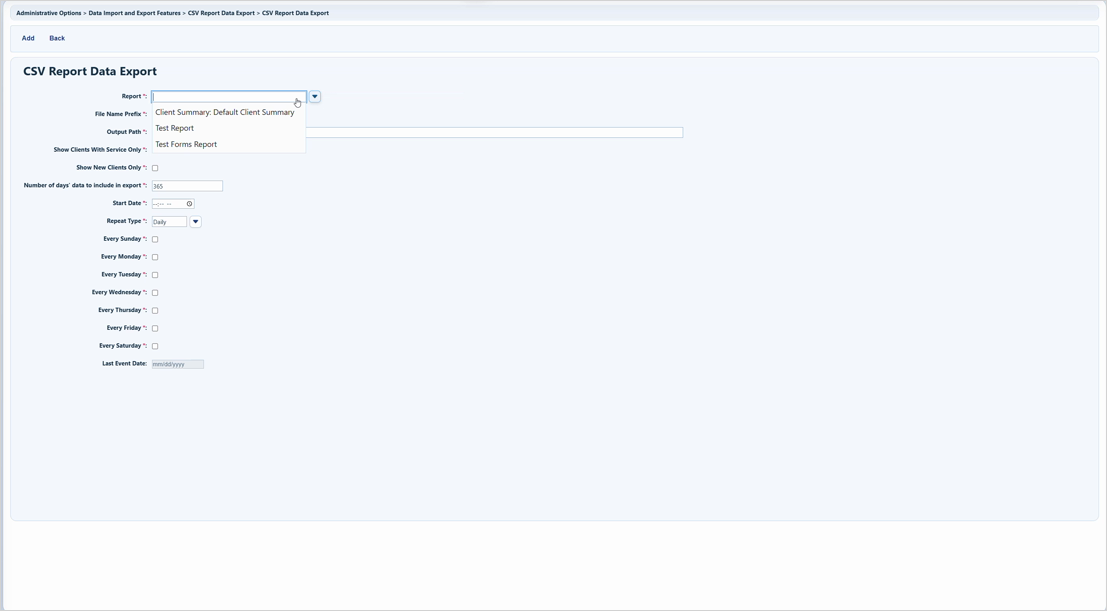
5. Select the Report.
6. Enter a File Name Prefix for the exported CSV file.
7. Enter the Output Path on the CAREWare server.
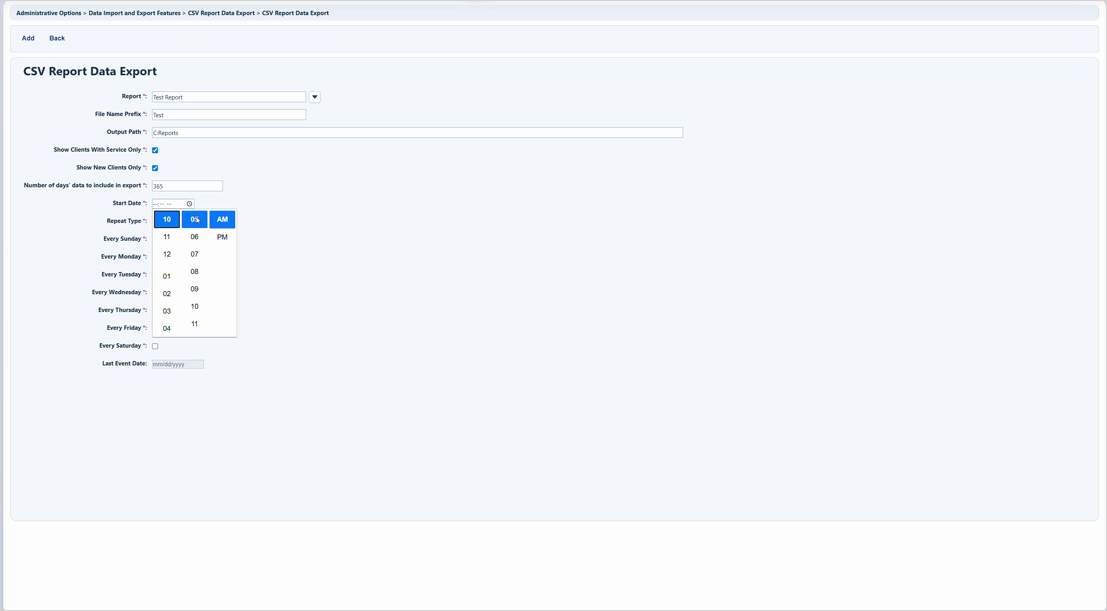
8. Complete optional settings such as Show Clients with Service Only, Show New Clients Only, number of days of data to include, and Repeat Type.
9. Click Add or Save.
|
|
Set the data scope
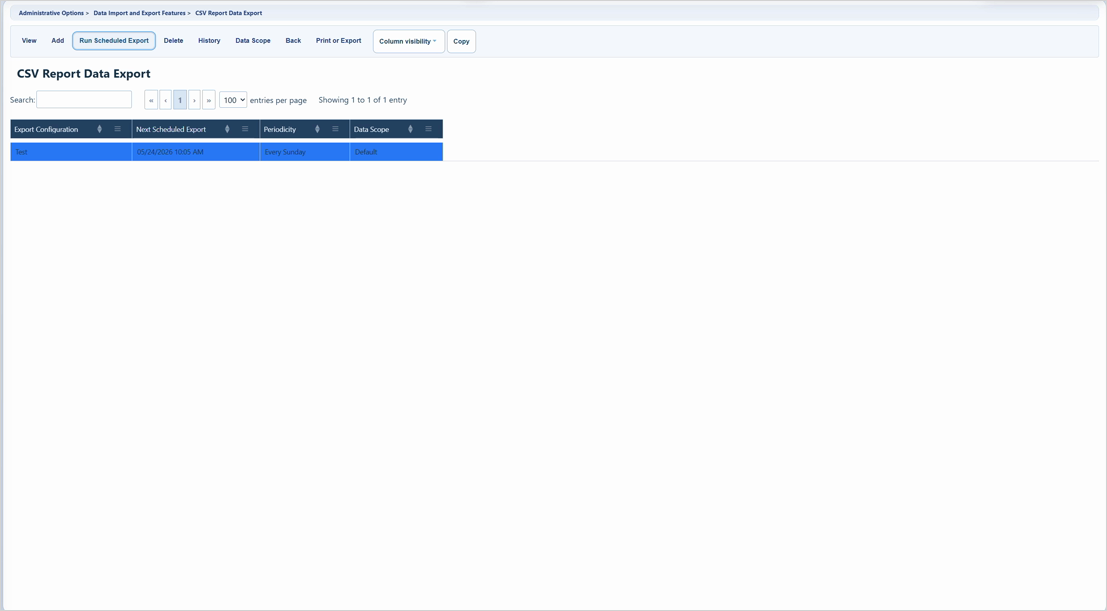
1. Select the export configuration.
2. Click Data Scope.
3. Check each provider that should be included in the report results.
4. Click Save.
How to confirm it worked
1. Return to Scheduled CSV Report Export.
2. Confirm the Periodicity and Last Event Date values.
3. After the next scheduled run, check the server output folder for the CSV file.
4. Open the CSV and confirm the expected report columns and provider scope.
Troubleshooting and common questions
- Why is the file not on my computer? Scheduled CSV report exports save to the server Output Path.
- Why are providers missing from the report? Open Data Scope and confirm each provider is selected.
- Why are report results different from Run Report? Review the schedule options, date lookback, service-only setting, new-client setting, and data scope.
Related guides
Exporting Data Out of CAREWare | New Export | Scheduled Exports


