


|
|
|
|
|
|
|
|
|
|
|
|
|
|
Before you begin
• Confirm that you have permission to configure Scheduler or schedule appointments.
• Gather the employee details and appointment-limit rules needed by your organization.
• Remember that an employee record does not create a CAREWare user account.
Configure Scheduler
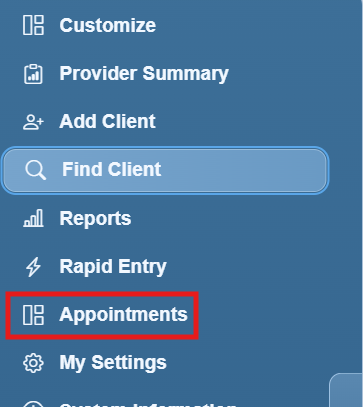
Step 1. Click Appointments from the Main Menu on the left.
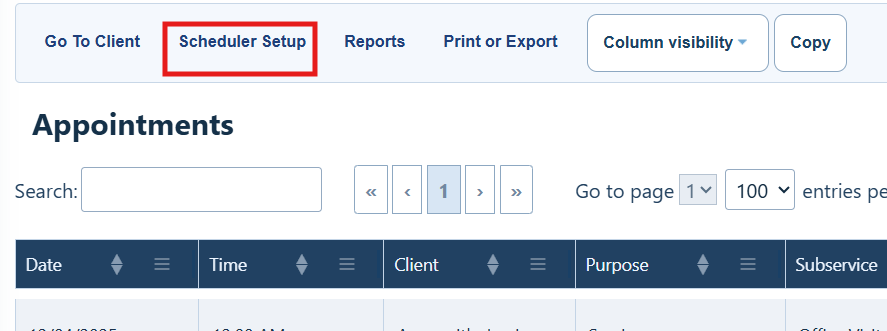
Step 2. Click Scheduler Setup.
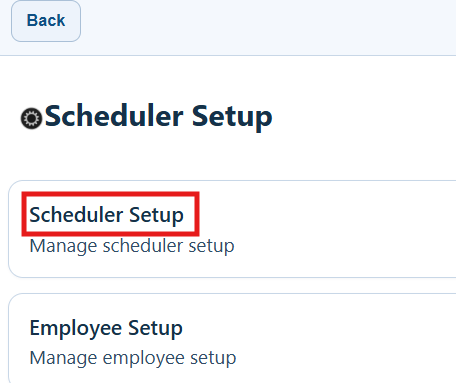
Step 3. Click Scheduler Setup.
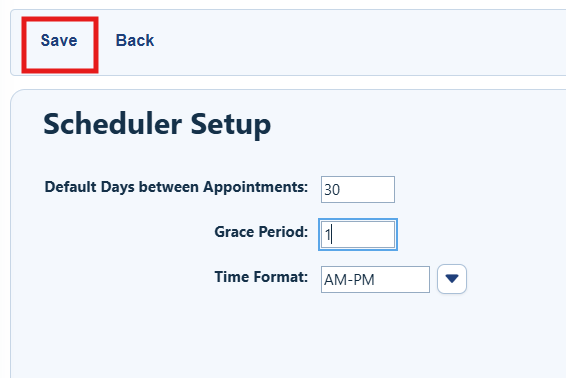
Step 4. Click Edit.
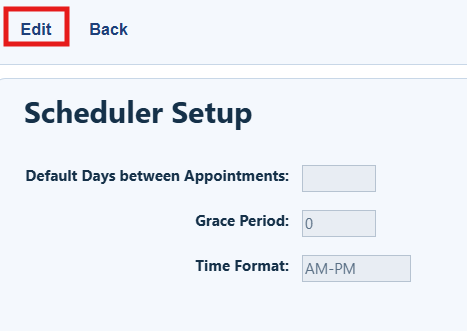
Step 5. Set the default days between appointments, grace period, and time format. Click Save.
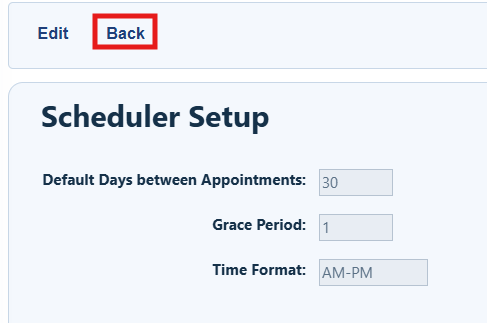
Step 6. Click Back.
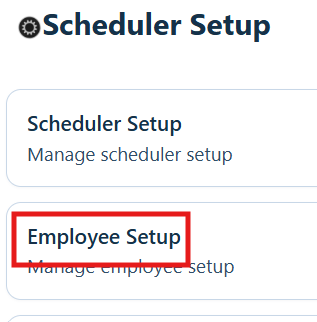
Step 7. Click Employee Setup. Employees may or may not be CAREWare users.
Step 8. Click Add.
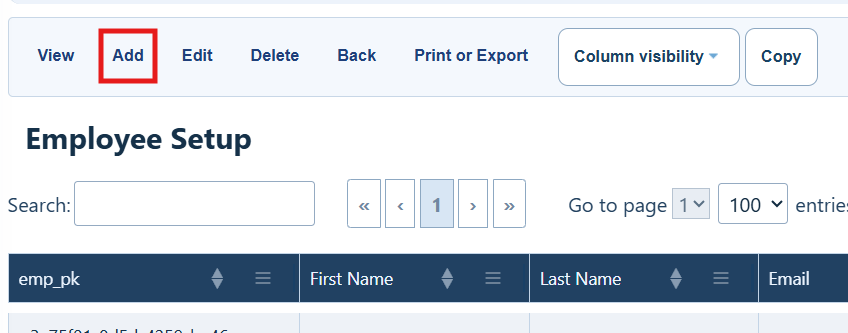
Employee Setup buttons
|
|
|
|
|
|
|
|
|
|
|
|
|
|
|
|
|
|
|
|
|
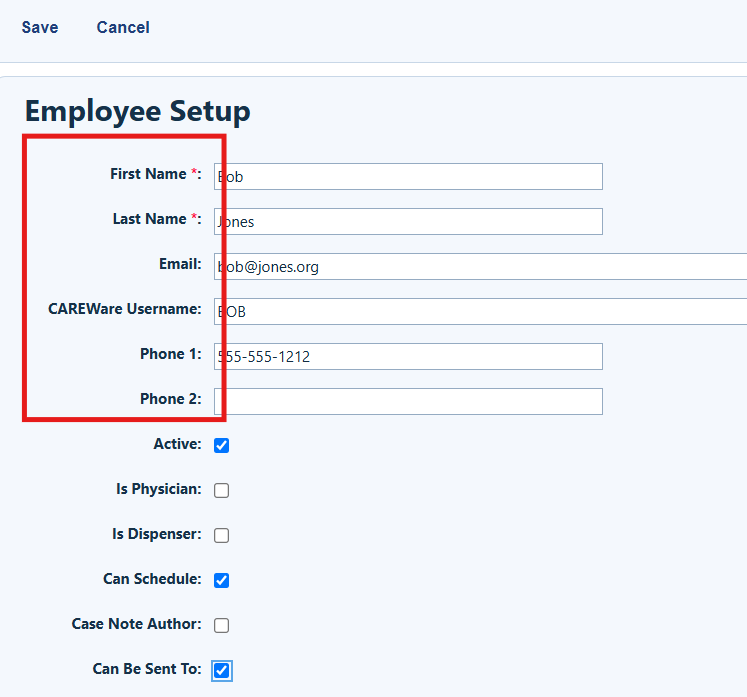
Step 9. Complete first name, last name, email (optional), CAREWare user name (optional), phone 1, and phone 2. Adding an employee does not add a CAREWare user account.
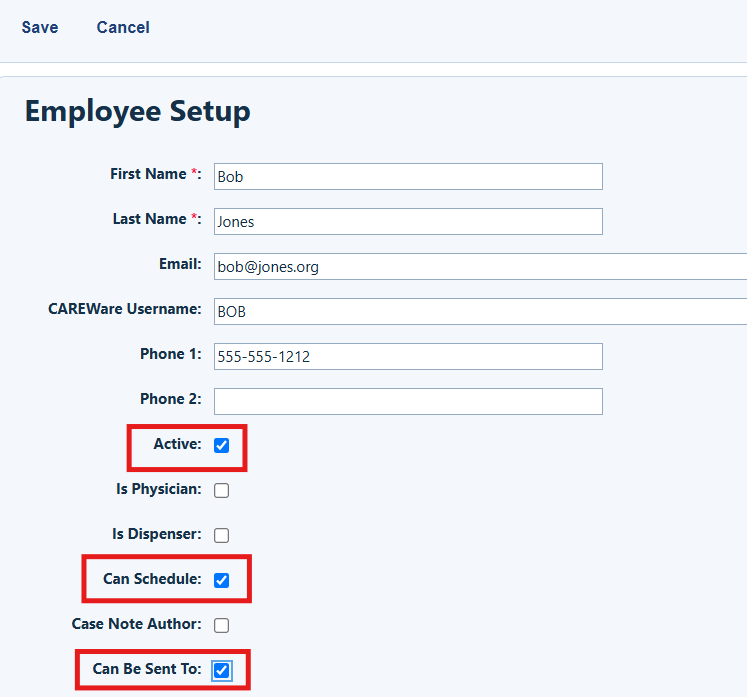
Step 10. Check Active. Check Can Schedule if the employee can schedule appointments for other staff. Check Can Be Sent To if appointments can be scheduled for the employee.
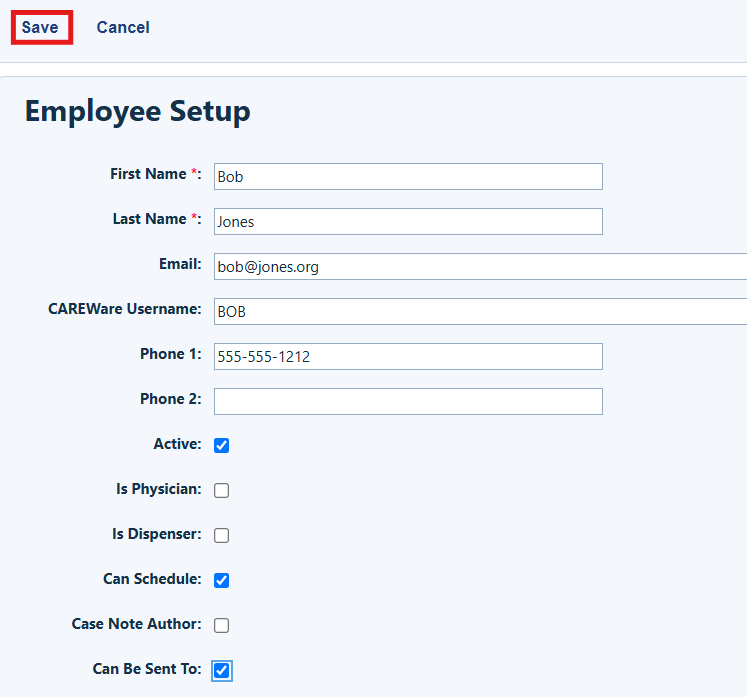
Step 11. Click Save.
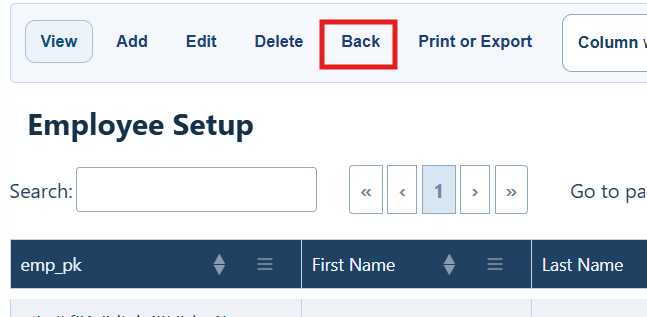
Step 12. Click Back.
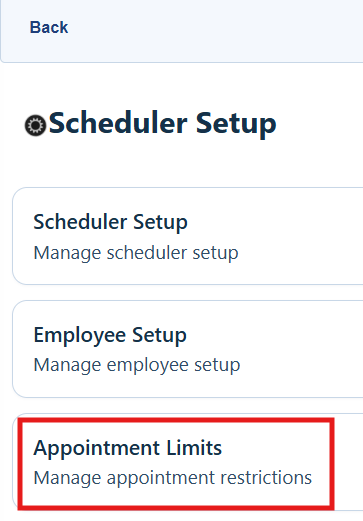
Step 13. Click Appointment Limits.
Step 14. Click Add.
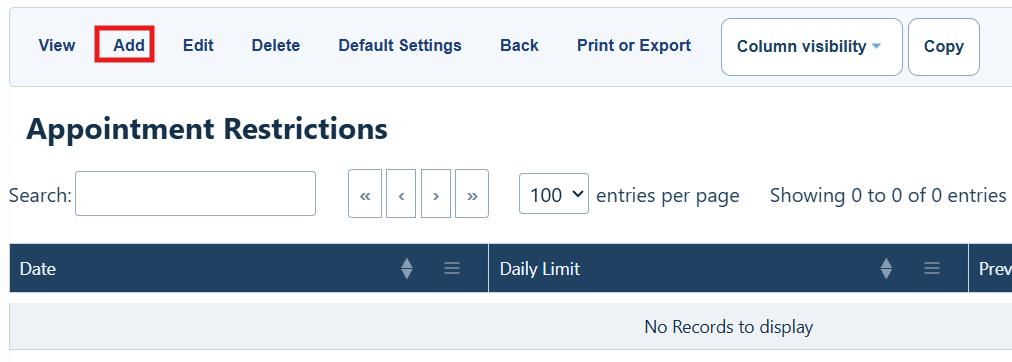
Appointment Limits buttons
|
|
|
|
|
|
|
|
|
|
|
|
|
|
|
|
|
|
|
|
|
|
|
|
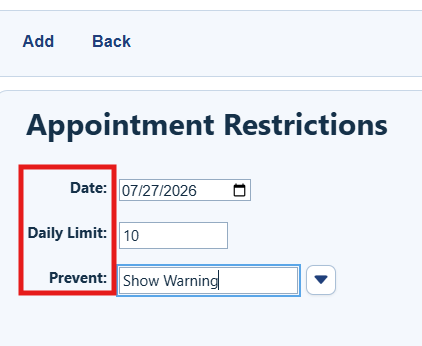
Step 15. Complete the date, daily limit, and prevent rule (Show Warning or Prevent Data Entry).
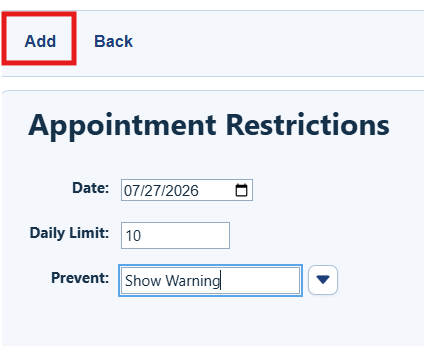
Step 16. Click Add.
Schedule an appointment in a client record
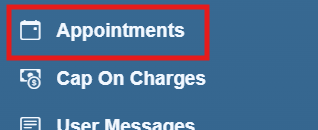
Step 1. Click Appointments from the left-hand menu.
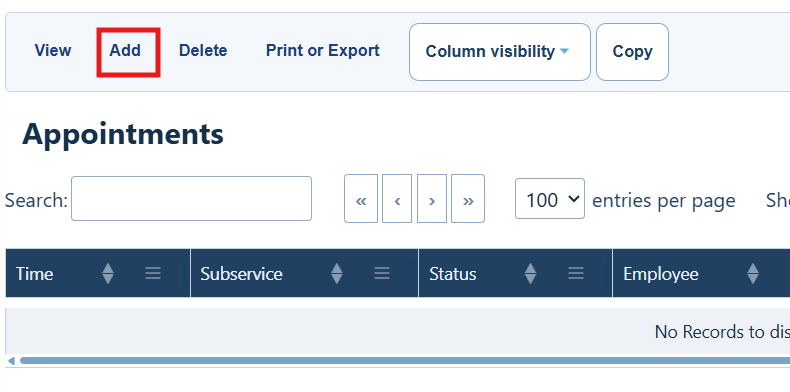
Step 2. Click Add.
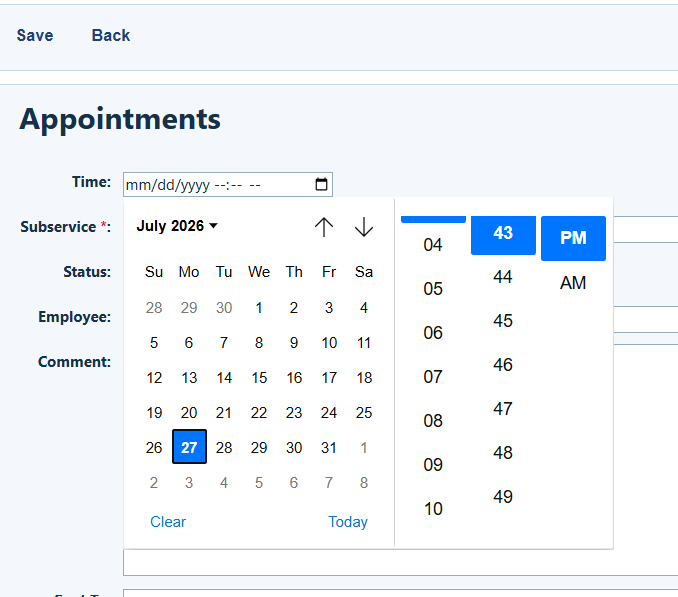
Step 3. Select the date from the calendar. Use the sliders to select the appointment time.
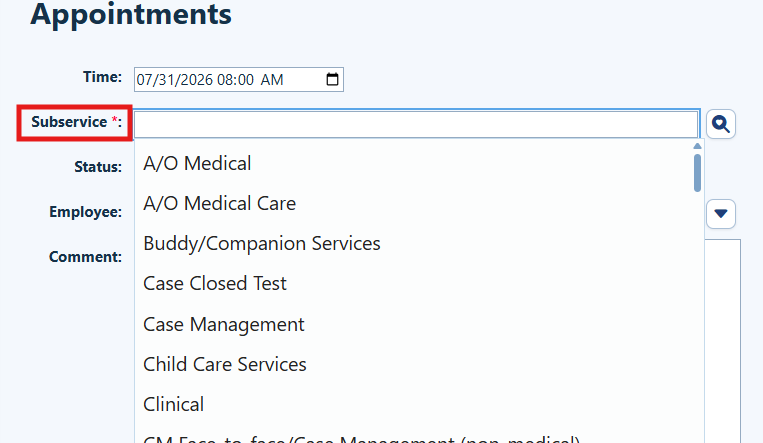
Step 5. Select the subservice from the dropdown list.
Step 6. Select the employee scheduling the appointment from the dropdown list.
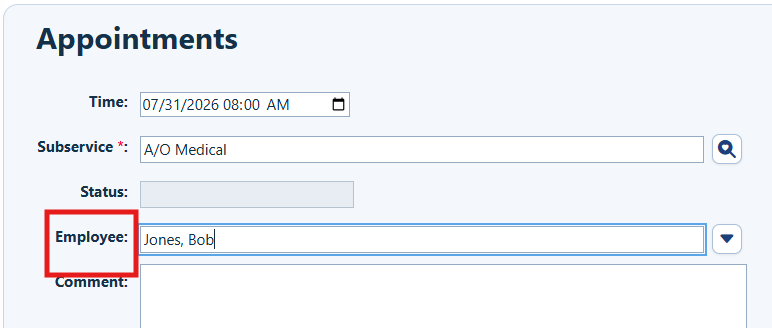
Step 7. Enter appointment details in the Comments box.
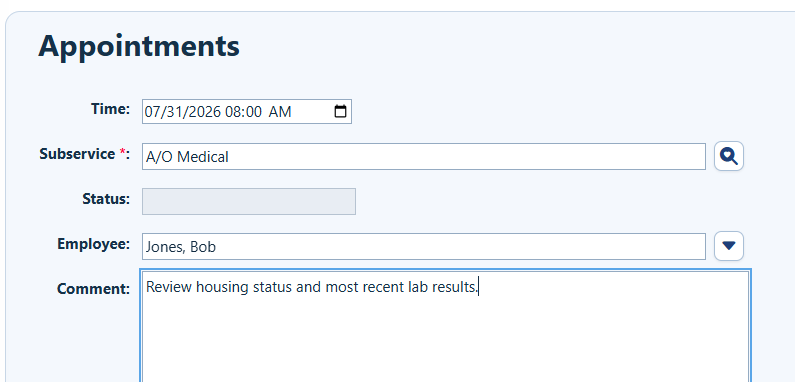
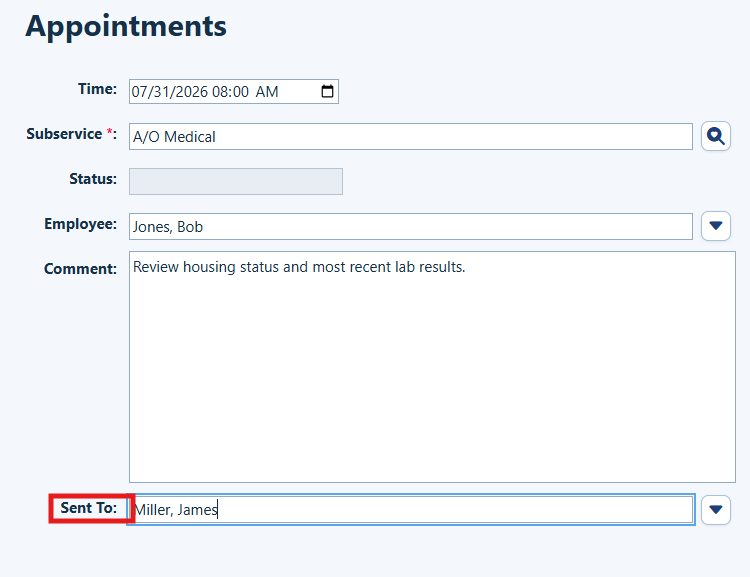
Step 8. Select the employee with whom the appointment is being scheduled.
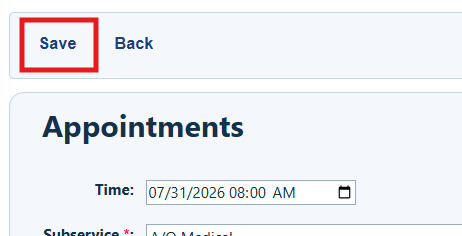
Step 9. Click Save.
How to confirm it worked
- The appointment appears in the client’s Appointments list.
- The scheduled date, time, subservice, employees, and comments match the information entered.
- Staff with access can view or print the appointment information.
Troubleshooting and common questions
Why can’t I add an appointment?
Confirm that Scheduler is configured and that the required employee records are active.
Why is an employee unavailable in a dropdown?
In Employee Setup, confirm that the employee is Active and has the appropriate Can Schedule or Can Be Sent To option selected.
Why is the appointment blocked or showing a warning?
Review Appointment Limits for the selected date. The configured prevent rule may warn the user or prevent data entry.
Related References
|
|
|
|
|
|


