


|
|
|
|
|
|
|
|
|
|
|
|
Quick path
|
|
Before you begin
Confirm the receiving server has a provider for the provider sending the data. Review Import Settings in the receiving provider before importing the ZIP file.
|
|
Export from the sending provider
1. Log into the sending provider.
2. Click Administrative Options.
3. Click Data Import and Export Features.
4. Click Provider Data Export.
5. Click New Export.
6. Select the export settings and tables needed for the reporting year or bridge workflow.
7. Click Export.
8. Click Download Export File to save the zipped CSV export.
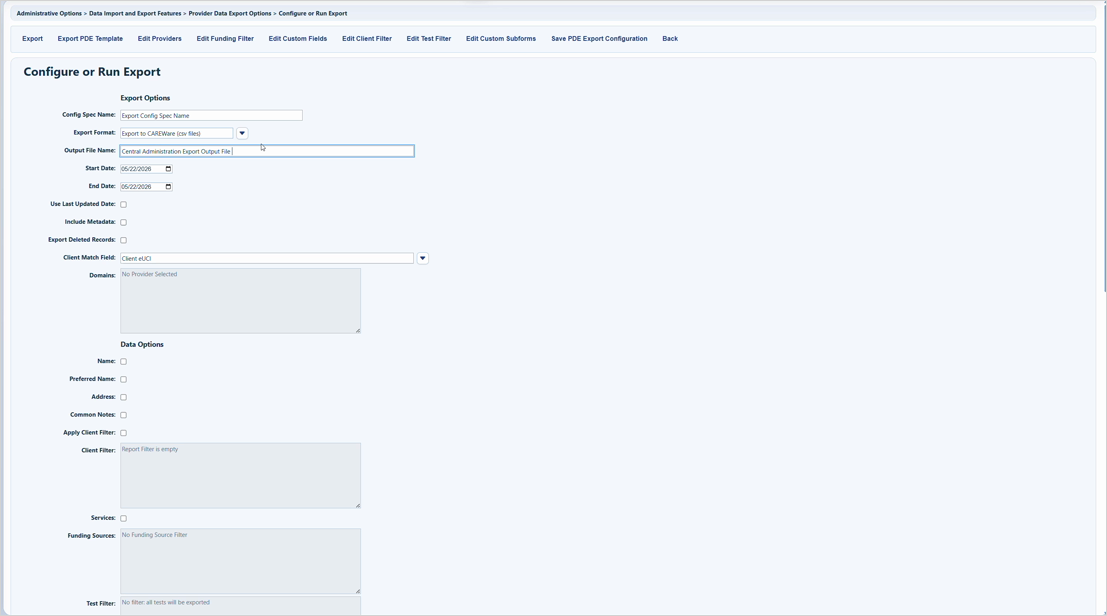
Provider Data Export configuration screen from the New Export source video.
Import into the receiving provider
1. Log into the provider in the receiving or state server.
2. Confirm Import Settings are set for the bridge workflow.
3. Click Administrative Options.
4. Click Data Import and Export Features.
5. Click Provider Data Import.
6. Click New Import.
7. Click Choose File.
8. Select the zipped CSV file exported from the sending provider.
9. Click Open.
10. Click Import File.
|
|
After the file uploads
1. Validate the imported records.
2. Resolve errors and complete mappings as needed.
3. Process the validated file according to your organization’s import procedure.
4. Review import results and compare expected counts to the sending export.
Troubleshooting and common questions
- Why can’t I import the file? Confirm the receiving provider exists and that you selected the original zipped export file.
- Why are setup values not mapping? Review Import Settings and confirm Match CAREWare Values and Automatically Import Setup Data are set as needed.
- Why did clients not match? Compare the exported Client Match Field to the receiving provider client matching settings.
Related guides
New Export | Provider Data Import | Import Settings | CAREWare CSV Specifications


