
 936
936
|
|
|
|
|
|
|
|
|
|
|
|
|
|
Before you begin
- Confirm you are in Central Administration.
- Coordinate with the CAREWAre server administrator before changing SQL connection settings.
- If custom fields are needed, create or select the appropriate Custom Field Template.
|
|
Enable SQL Server Imports
1. Log into Central Administration.
2. Click Administrative Options.
3. Click Data Import and Export Features.
4. Click Provider Data Import.
5. Click SQL Server Import.
6. Check Enable PDI SQL Server Import.
7. Enter the Scheduled Time.
8. Select the Scheduled Day.
9. Optional: select a Custom Field Template.
10. Click Save.
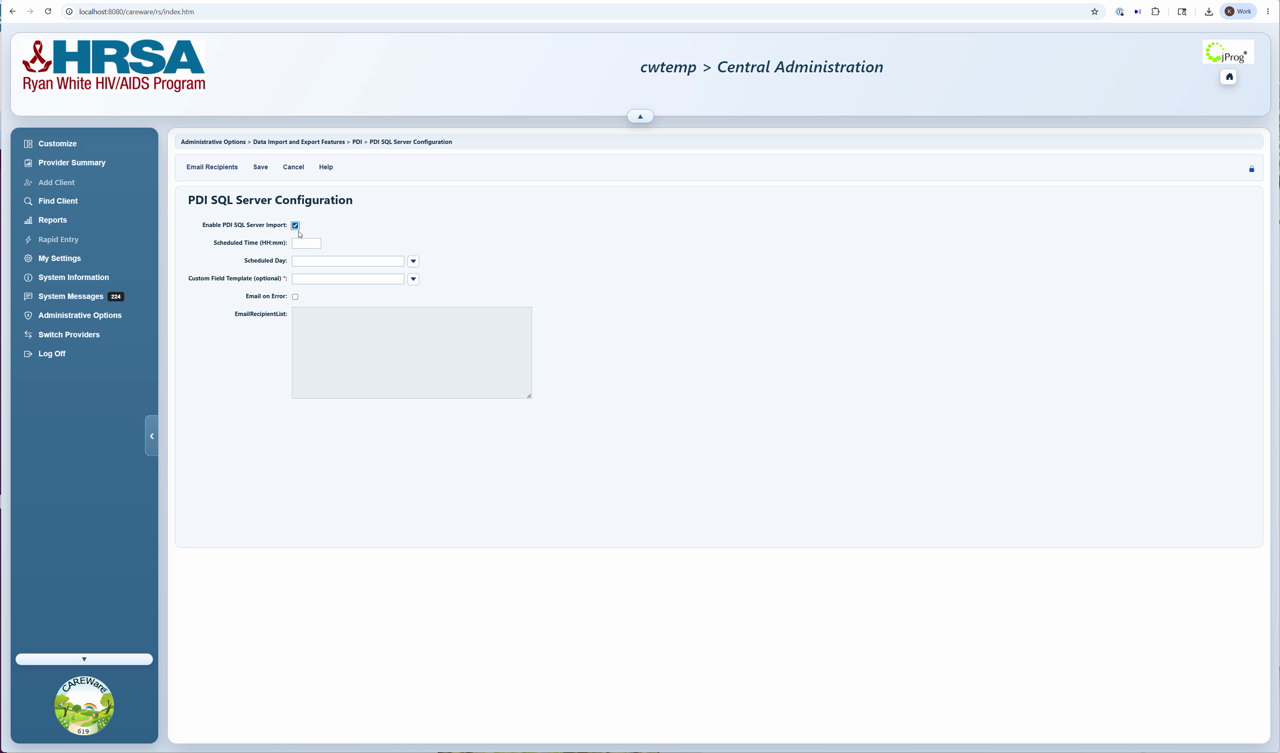
Add error email recipients
1. On the PDI SQL Server Configuration page, check Email on Error.
2. Click Email Recipients.
3. Click Add.
4. Enter the recipient email address.
5. Click Save.
Configuration requirements
|
|
|
|
|
|
|
|
|
|
|
|
|
|
|
|
|
|
|
|
|
|
|
|
How to confirm it worked
1. Open the PDI SQL Server Configuration page and confirm Enable PDI SQL Server Import is checked.
2. Confirm the cw_pdi database exists in SQL Server.
3. Run or wait for the scheduled import and verify results in Import History.
Troubleshooting and common questions
SQL importing stopped after migration. What is likely wrong?
The cw_pdi database may not have moved with cw_data, the login may not be set as the DBO for cw_pdi, or the connection string may need to be updated.
Where do SQL import errors appear?
Review email notifications if enabled, Import History, Administrative Alarms, and System Logs.
We enabled SQL PDI and now we cannot open the Provider Data Import section.
There may be an issue with the database connection string or the creation of the cw_pdi database. Follow the instructions here to verify the issue and fix it.
Related guides
Restoring SQL PDI Functionality After Migrating CAREWare | Import Settings | Import History | Provider Data Import | Custom Field Templates


