
 1832
1832
|
|
|
|
|
|
|
|
|
|
|
|
|
|
Before you begin
- Activate the custom field for the provider and the correct location.
- Save the custom field in a Custom Field Template before generating or using the import template.
- Know which PDI table corresponds to the custom field location. For example, custom client fields use exp_client and custom service fields use exp_service.
|
|
Prepare the custom field template
1. Open Provider Data Import.
2. Click Custom Field Templates.
3. Select or add the template.
4. Edit the field list.
5. Select the custom fields needed for the import.
6. Save the template.
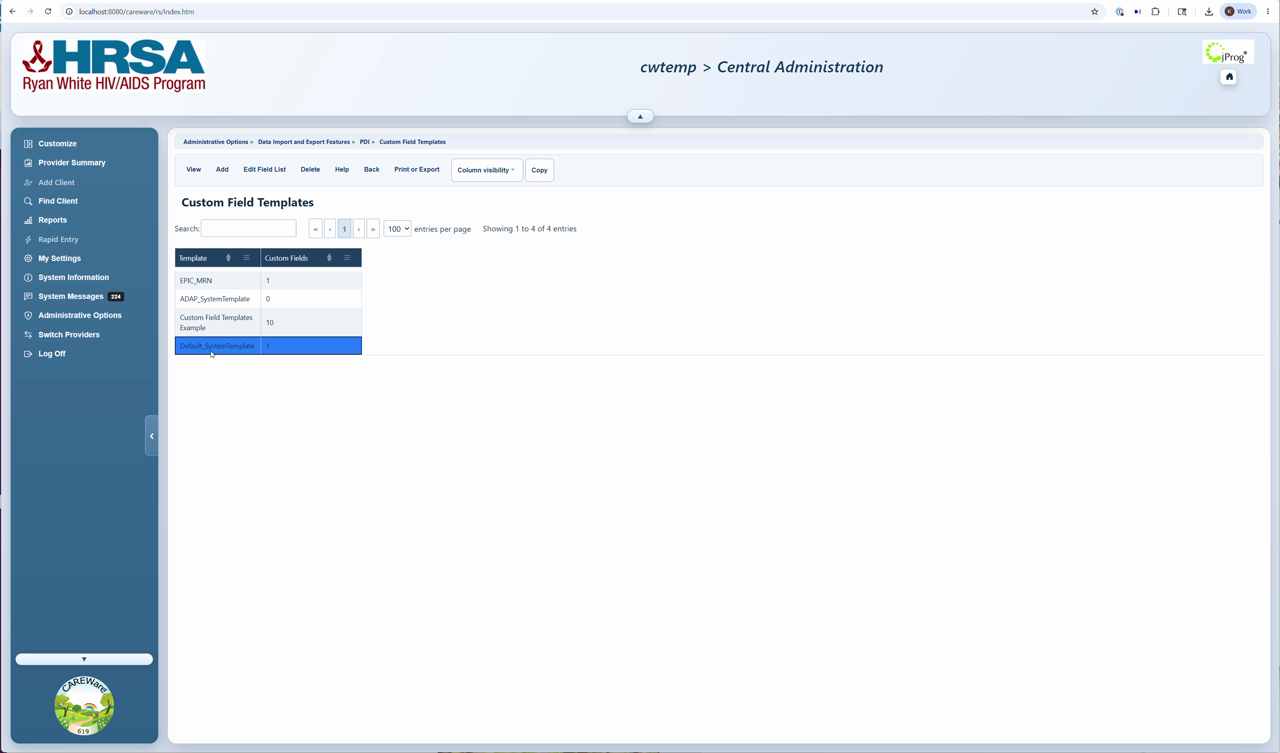
Custom Field Templates tab
Prepare custom data columns
- Custom field import columns use the cst_ prefix.
- Spaces in the custom field name become underscores.
- Example: custom field 1 0 test becomes cst_1_0_test.
Import the custom data
1. Add the custom field columns to the table associated with the location of the custom field in CAREWare.
2. Populate the custom data values for each record.
3. Zip the PDI files with any required attachment files, if the custom field is an attachment type.
4. Upload the ZIP through New Import.
5. Review Import History and Import Details.
6. Resolve errors or missing mappings, then process the import.
How to confirm it worked
1. Open the Custom Field Template and confirm the field is selected.
2. Confirm the import column name matches the Template Field Name.
3. After processing, open the client, service, or custom field location and verify the imported value appears.
Troubleshooting and common questions
Why is there no mapping for a custom field?
The custom field may need to be activated for the provider in the location associated with the table the records were imported in. The custom field may need to be activated in a custom field template. The custom field template name may differ from the field name or the column header. Refresh the template by removing and re-adding the field.
Where do service custom fields import?
Use the exp_service table for custom service fields.
Related guides
|
|
|
|
|
|
|
|
|
|
|
|
|
|
|


