
 727
727
|
|
|
|
|
|
|
|
|
|
|
|
Quick path
Administrative Options > Data Import and Export Features > Provider Data Import > Import Settings > Add > Source Type: DTM > Save > Configure DTM Specs.
Before you begin
- Know the provider receiving the import.
- Choose a clear Source Name. Use a name that identifies the data source, such as Default DTM, Lab DTM, or EPIC Services.
- Decide whether this source needs unique client matching or update rules. If yes, create a separate DTM import setting for each unique set of import rules.
|
|
Create the DTM import setting
1. Click Administrative Options.
2. Click Data Import and Export Features.
3. Click Provider Data Import.
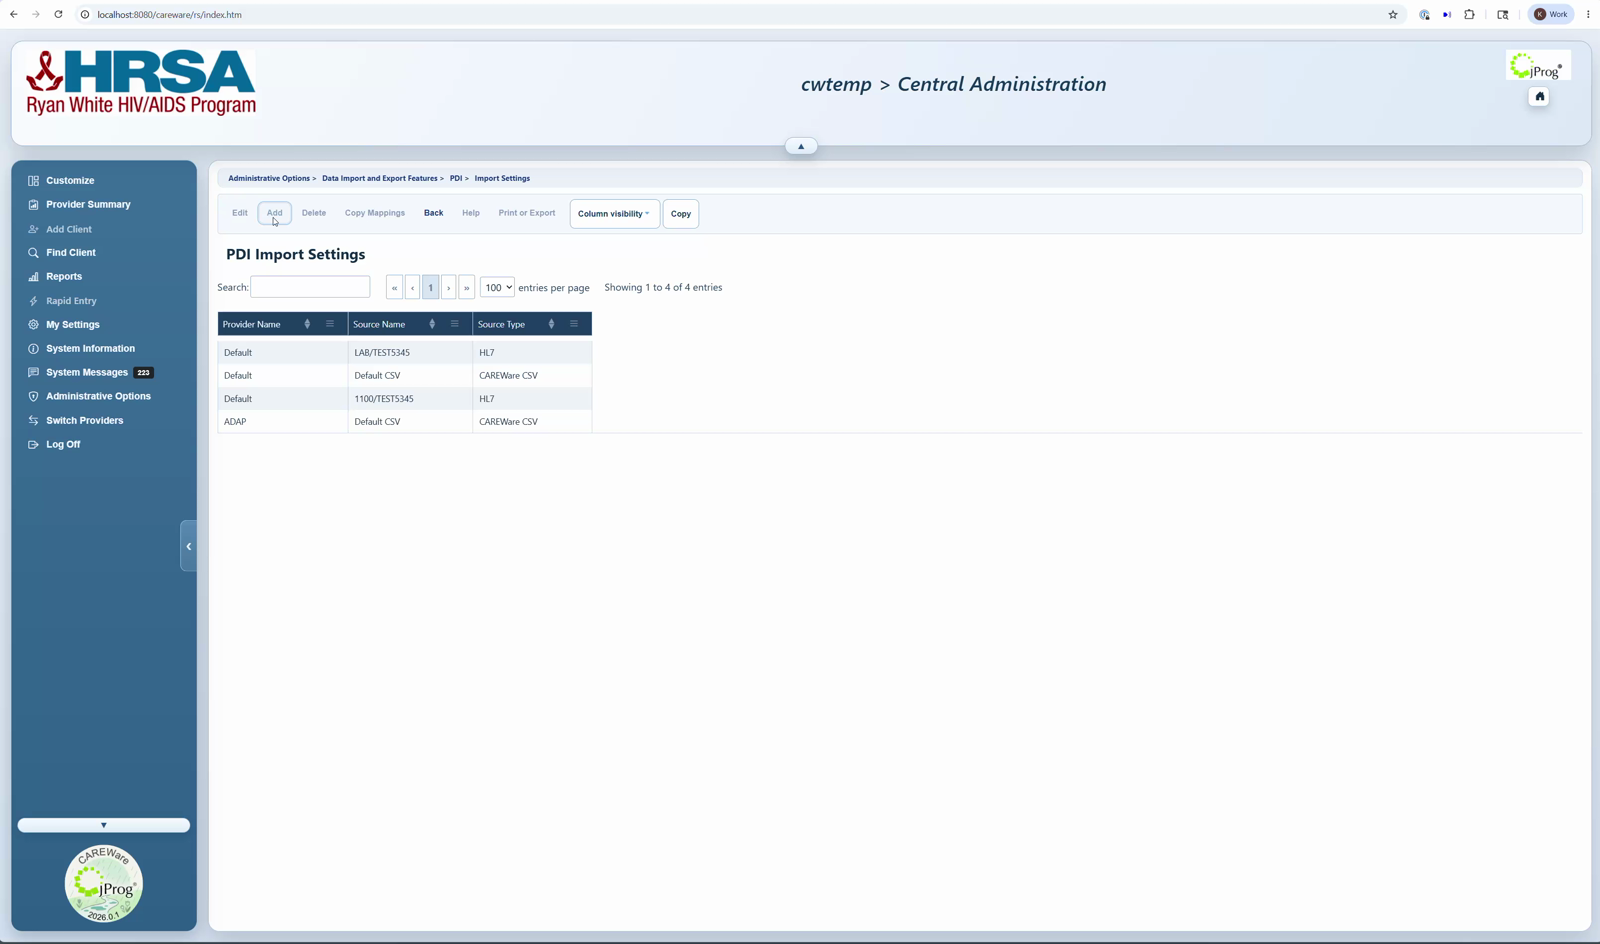
4. Click Import Settings.
5. Click Add.
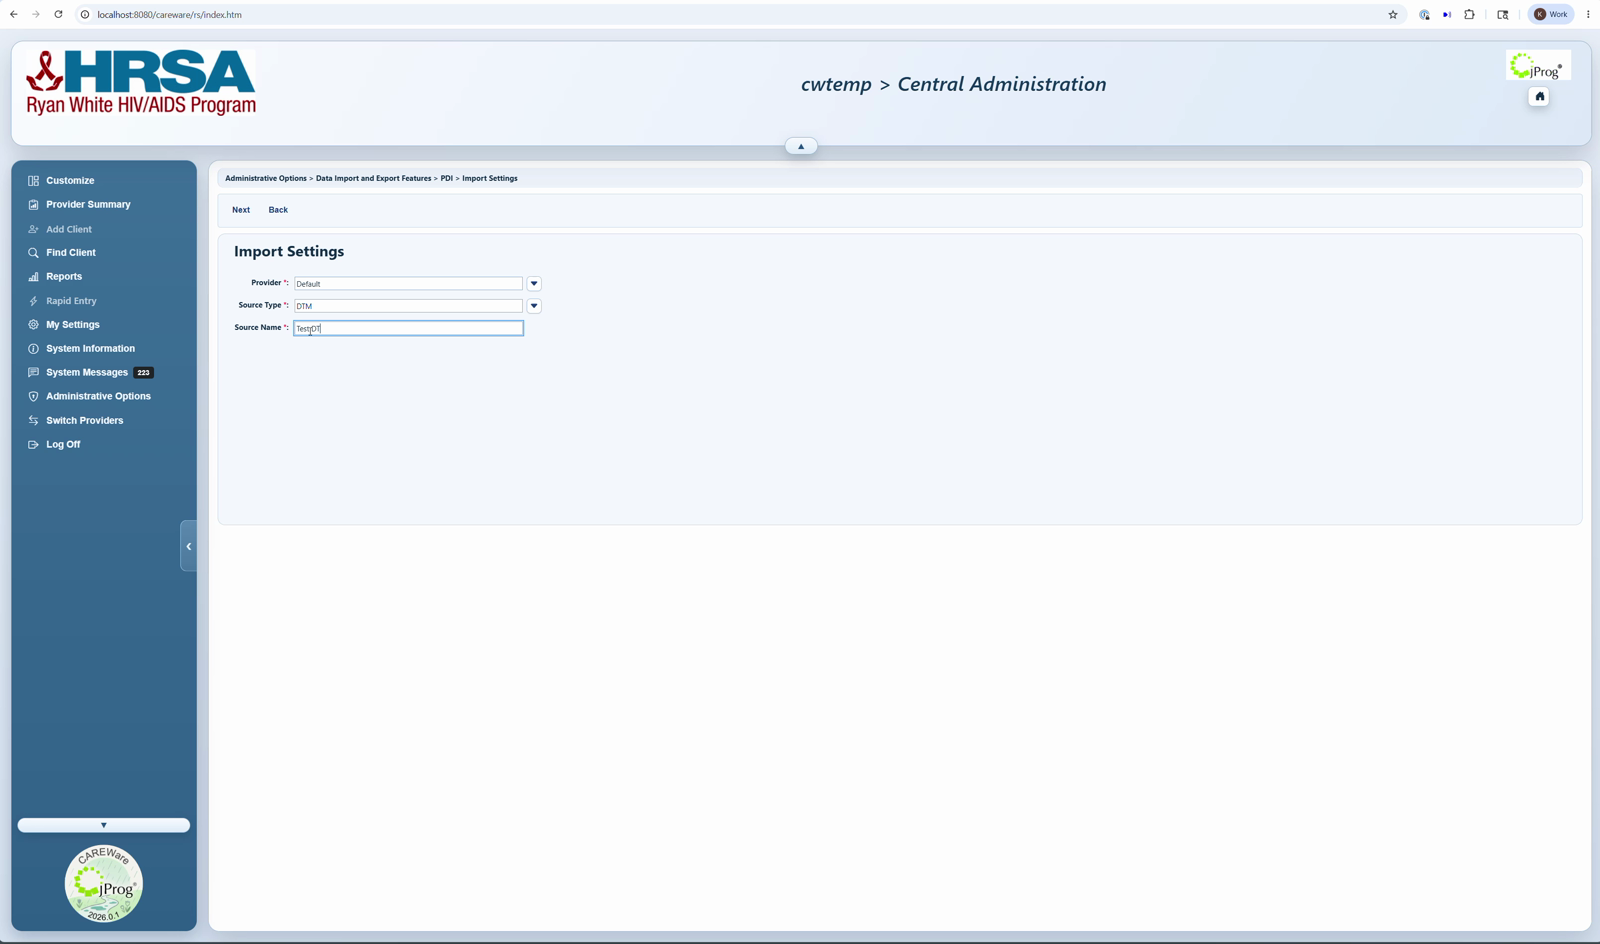
6. Select DTM as the Source Type.
7. Enter the Source Name.
8. Click Next.
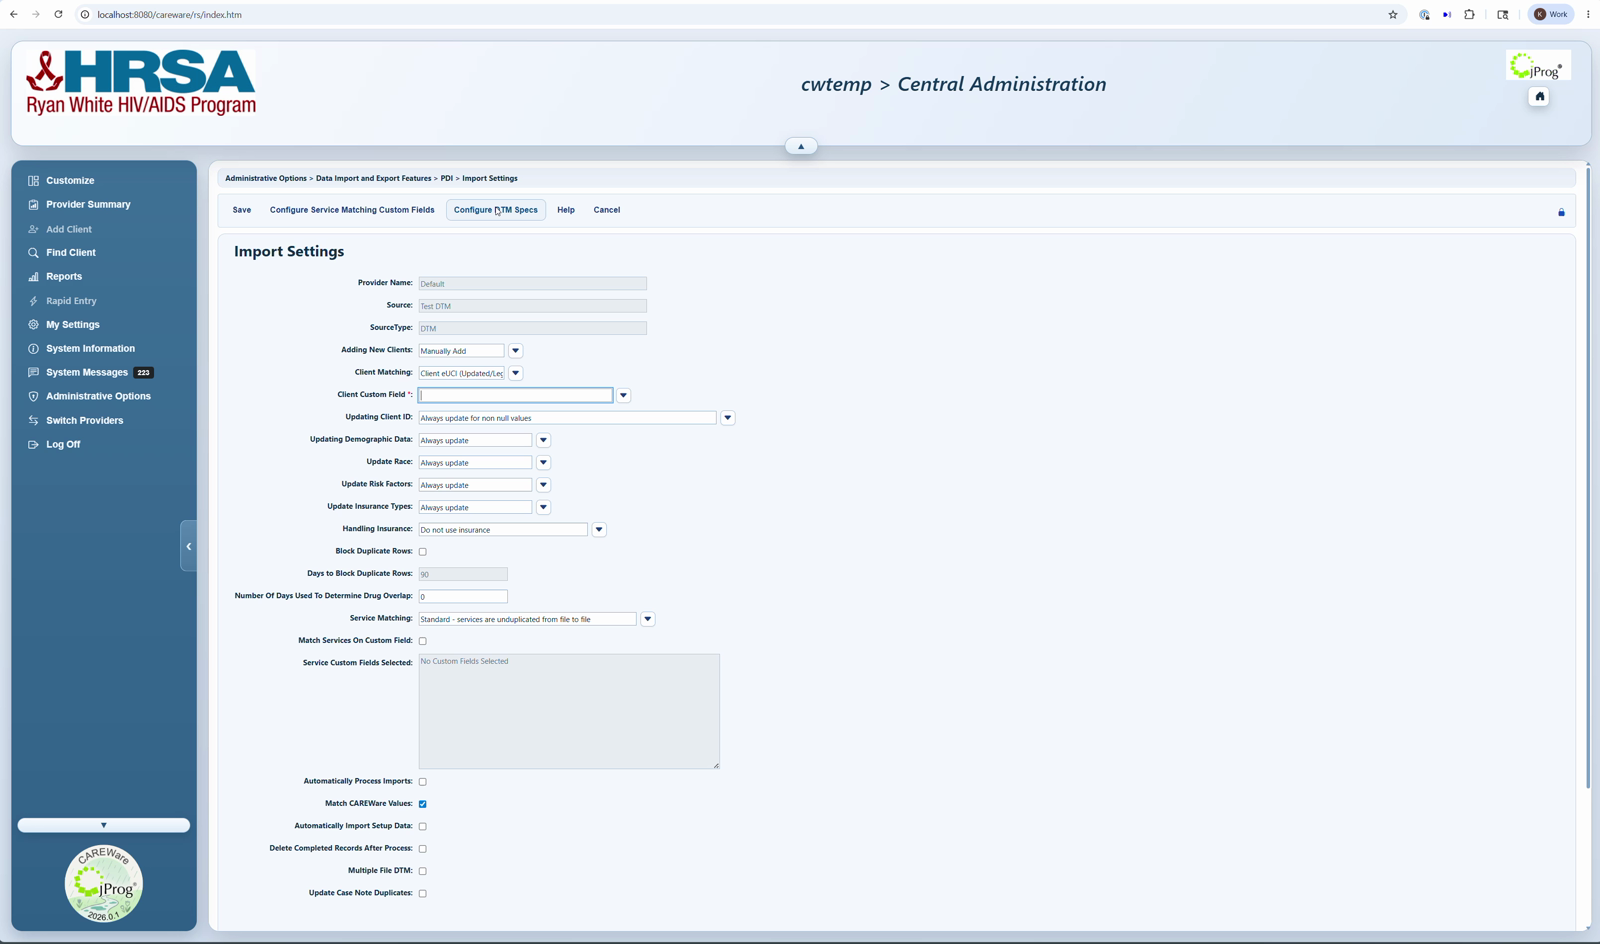
9. Review the import settings and click Save.
10. Click Configure DTM Specs to create the file specifications for this setting.
Helpful settings to review
- Client Matching: choose how CAREWare matches incoming client records, such as legacy URN elements, Client ID, custom field, or State No where applicable.
- Adding New Clients: choose whether new clients are added automatically or handled manually.
- Automatically Process Imports: use only after mappings and matching rules have been tested.
- Delete Completed Records after Process: use when you want completed temporary holding-tank records purged after successful processing.
- Block Duplicate Rows: consider this if duplicate file names or records are a recurring issue.
- Multiple File DTM: Allows multiple files using the same DTM Specifications to be imported using a single zipped file.
|
|
|
|
After saving
1. Confirm the setting appears in the Import Settings list.
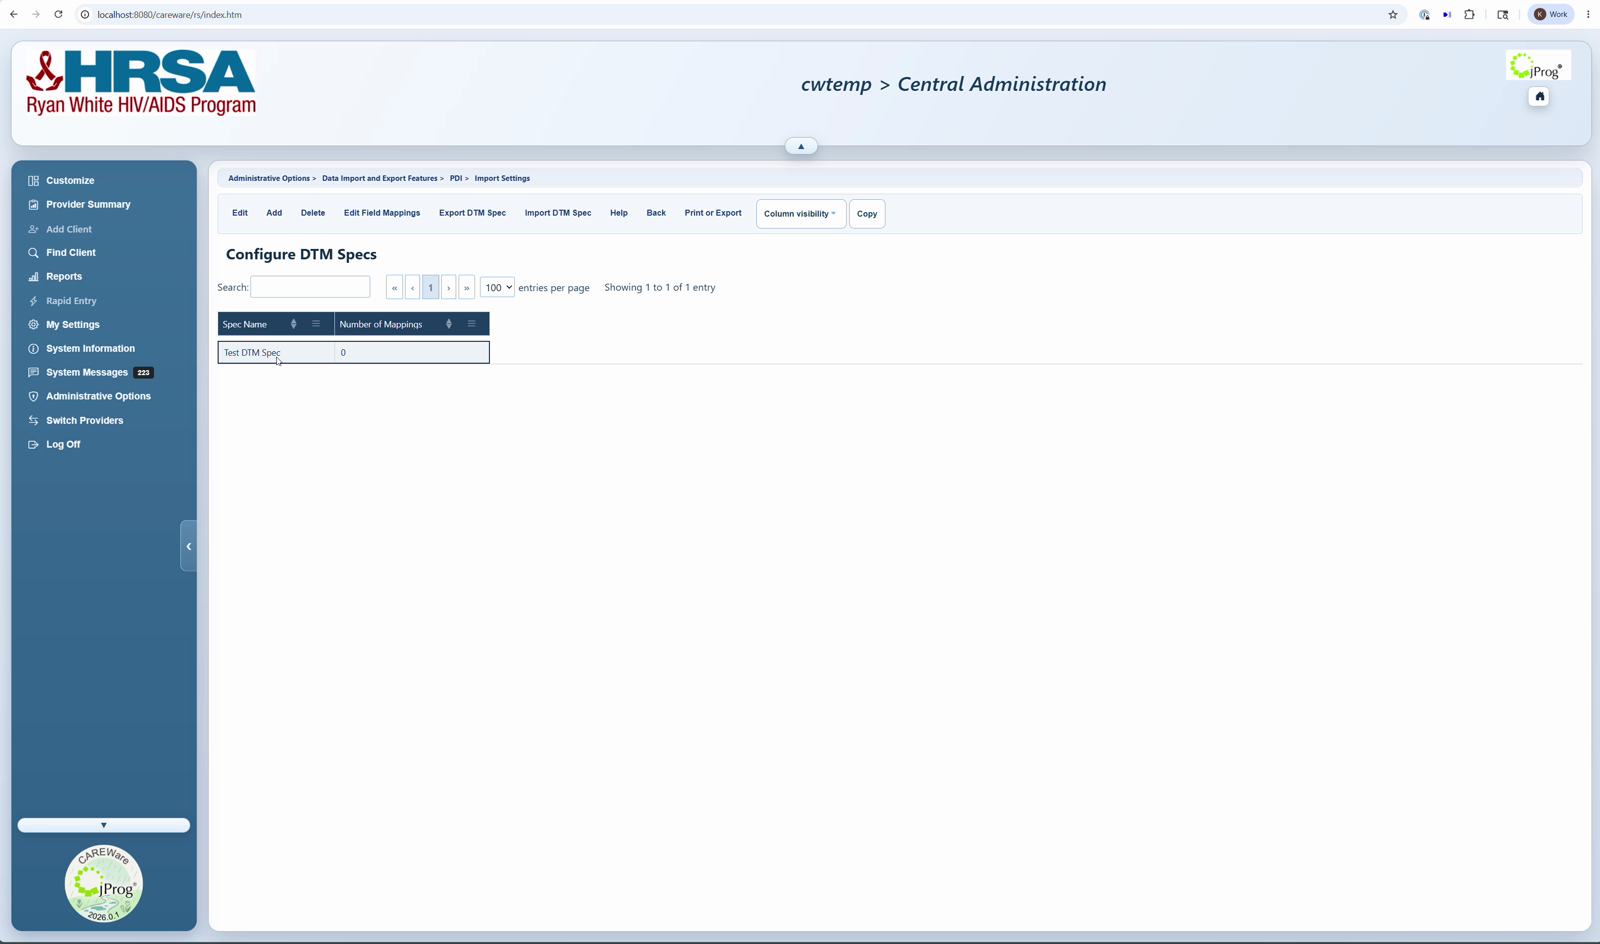
2. Open Configure DTM Specs from the DTM setting.
3. Create at least one DTM Spec for the source file format.
4. Edit Field Mappings for the sample file.
How to confirm it worked
1. For a manual import, confirm exp_provider.csv contains the provider name and the exact Source Name in prv_source.
2. For folder imports, confirm the DTM Spec has the correct Source Folder and Search String.
3. Run a small test file and review Import History for status, errors, and mapping results.
Related CAREWare guides
Import Settings | Configure DTM Specs | Edit Field Mappings | Importing DTM Files | Provider Data Import | Import History


