


 3784
3784
|
|
|
|
|
|
|
|
|
|
|
|
|
|
Before you begin
- Identify the data source, file format, schedule, client matching field, and if the process should be automated.
- Confirm the user has the permissions required for the selected import method.
- Configure Import Settings before uploading or automating files.
|
|
Open the import features menu
1. Click Administrative Options.
2. Click Data Import and Export Features.
3. Click Provider Data Import.
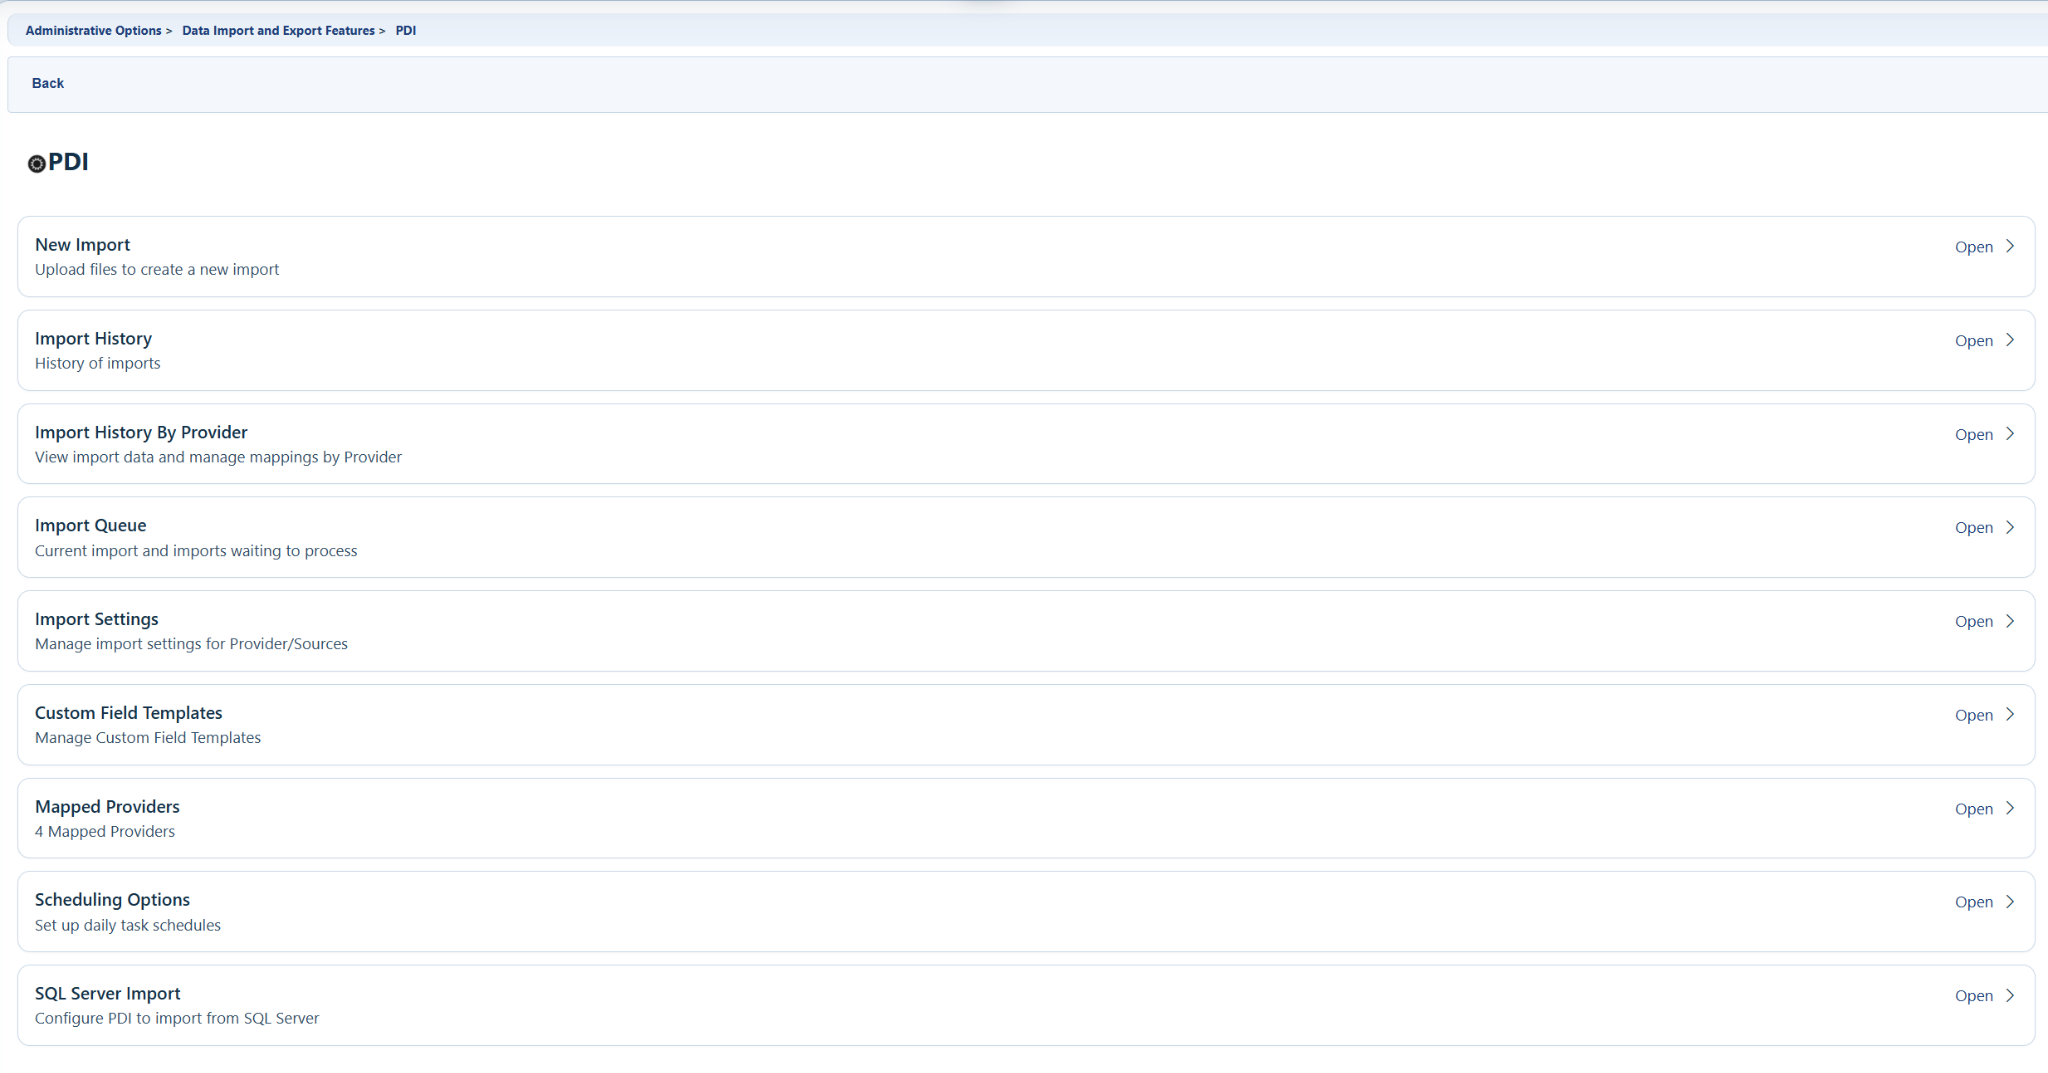
Choose an import method
|
|
|
|
|
|
|
|
|
|
|
|
|
|
|
|
|
|
|
|
|
|
|
|
|
|
|
|
|
|
Recommended starting point
1. Select the method and review the import specifications for that method.
2. Create Import Settings for that method based on the expected incoming data.
3. Upload a small test file with New Import.
4. Review the Import History.
5. Resolve mappings and matching issues before processing the files to add the records..
How to confirm it worked
1. You know which import method applies to the source data.
2. The provider has a matching Import Settings or interface configuration.
3. The first test import reaches Import History and can be reviewed.
Troubleshooting and common questions
Which method should I use for a spreadsheet?
Use DTM when the spreadsheet or flat file needs fields mapped to the CAREWare CSV template. Use CAREWare CSV when the file already matches the CAREWare template.
Where do I find PDI field details?
Use the CAREWare CSV Specifications and related field maps for specific elements.
Why is the file I imported missing from Import History?
There may be an error, check the Import History from Central Administration and check the System Log for import errors.
Related guides
Provider Data Import | Import Settings | New Import | Import History | SQL Server Import | CAREWare CSV Specifications | Data Translation Module


